Getting started
This page is about the basic functions of user app. Before you start to use the main functions of Bookings ONE user app, you should know more about the basic functions:
You can via user app to book resources, such as room, desk. The user app provides many methods to book a room. Further information: Schedule, Resources, Floor Plan
Windows: Chrome 76 or above, Firefox 68 or above, Microsoft Edge
Mac OS: Chrome 76 or above, Firefox 68 or above, Safari
iOS: Safari, iOS 12.2.0 or above
Android: Chrome version 76 or above
Login
To be able to use Bookings ONE user app, you first need to have a user account. In this step, please contact global administrator or user manager to get a user account.
If you are a global administrator or user manager and you want to create an account for user, please refer to User & User Group.
For local account, there are two ways for global administrator or user manager to create an account for you.
- Global administrator or user manager would give you an account and password.
- Global administrator or user manager would send you an email to create an account.
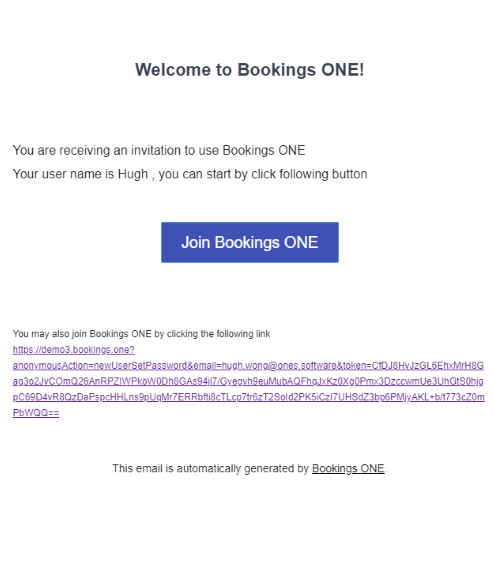
If you cannot find the email, please check it in your "Junk Email".
If the system allows, users can login through other methods. If you want to set up other login methods, please refer to Exchange Server / Office 365 integration.

Login page
In th login page, you can see different column and button:
- Install to home page: In the top right side ↗️, you can see this
 button. This button will tell you how to install Bookings ONE user app to your device.It is strongly recommended you that install the user app on your device.
 - Language: In the top right side ↗️, you can see this
 button. You can change the user app language to English, 繁體中文 and 简体中文.
 - Login column: You can input username (not display name) or email. The password must contain A-Z, a-z, 0-9 and at least 6 characters.
- Remember me checkbox: You can click this check box to skip the login procedure next time you want to login.If you are using public device, it is not recommended that you click this checkbox.
- Forgot password: If you forgot the password, you can click Forgot password and input your email or username. The system will send you an email to reset the password.
- Login button: After you inputted the username / email and password, this button will be clickable. You can click this button to login.
- Management console: In the bottom ⬇️, you can see Management console. You can click this to go to management console page.
Main page
After you login to your account, you will see this page:
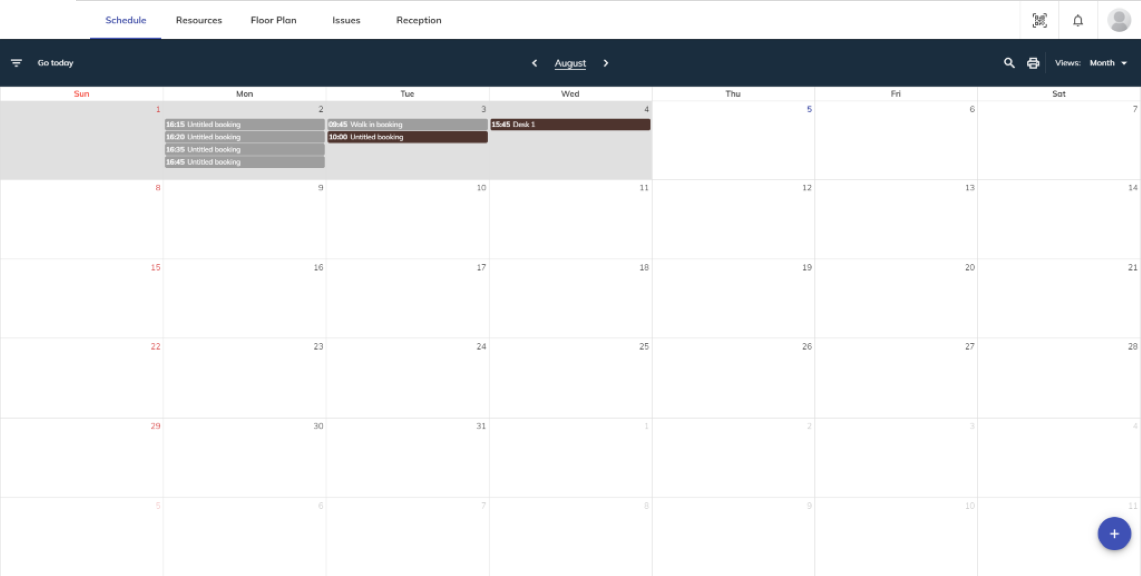
Users can access to different pages based on their permission:
User Profile

In the top right side ↗️, you can see this ![]() button. After you click this button you can open profile page:
button. After you click this button you can open profile page:
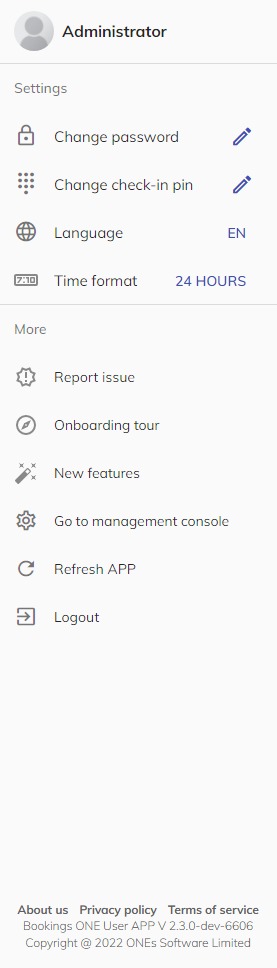
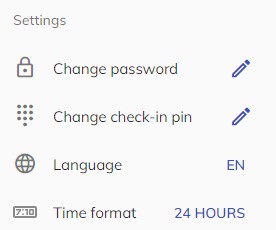
Setting
- Change password: You can change your password. You need to input your current password, new password and confirm password. The password must contain A-Z, a-z, 0-9 and at least 6 characters.
- Change check-in pin: You can change your check-in pin. Check-in pin uses for identity verification that means you can via check-in pin to check-in, walk-in, etc. The check-in pin only accept numeric, at least 4 characters and up to 8 characters.
- Language: You can change the user app language to English, 繁體中文 and 简体中文.
- Time format: You can change the time format to 24 Hours or AM/PM.
More
- Mobile Pass : You can get a mobile pass to your mobile device to complete the authorization on the player, such as check-in. This button only show when you open the web app on mobile device.This button only show when if the administrator enable the setting and the system has included this module.
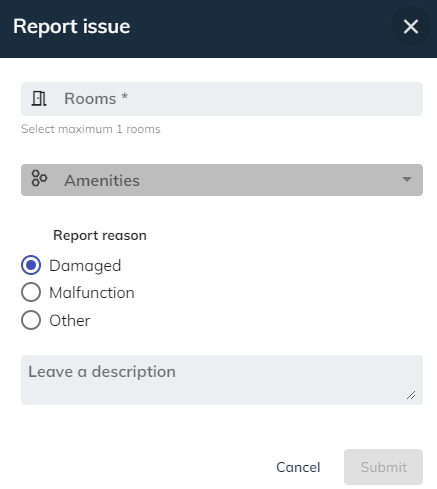
- Report issue: You can click Report issue to open this page:
- Onboard Tour: When you login to Bookings ONE for the first time, onboard tour will be displayed. If you want to watch onboard tour again, you can click this button to open it.
- New features: You can click this button to view what's new.
- Go to management console: You can click this button to go to management console. If you do not have any manager permissions, you cannot see this button.
- Refresh APP: You can click this button to refresh the user app.
- Logout: You can click this button to logout.
Notifications

![]() button. If there is any notice for you, it will shows like this
button. If there is any notice for you, it will shows like this ![]() .
.
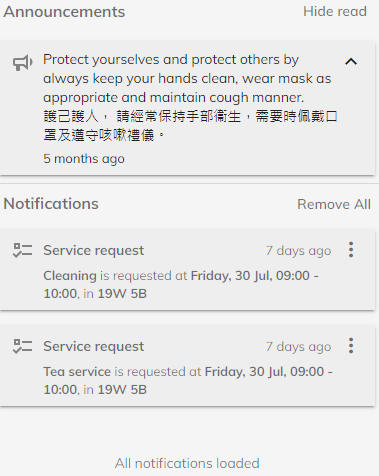
If there is any announcement, it will shows on the top. You can check all the notice here.
- Hide read: You can click this button to hide the announcement.
- Remove All: You can click this button to remove all the notifications.
You can click Menu button ⋮ to show more button:
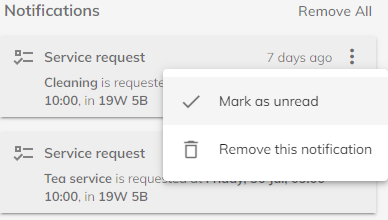
- Mark as read / unread: You can click this button to mark the notification to be raed or unread.
- Remove this notification: You can click this button to remove this notification.
QR code scan

![]() button. This function is for identity verification on panel. For details please refer to Identity verification.
button. This function is for identity verification on panel. For details please refer to Identity verification.
If you click the button for first time, the system will need permission to use your device's camera. Please accept the request for QR code scanning.
You can use other QR code scanner to scan the QR code. However, via the user app QR code scanner can get better performance.
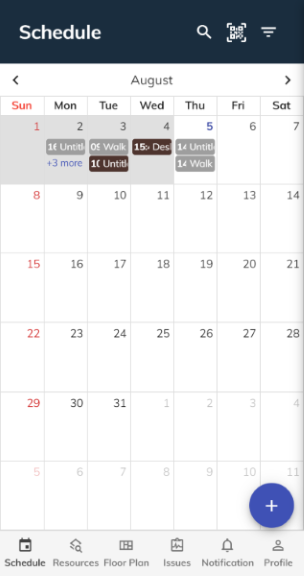
In the mobile device version of the user app, the QR code scanner button is displayed in the top right side ↗️ of the "Schedule" page. If you want to use it, you need to go back to the "Schedule" page.