Invite visitor
In "Schedule" page, you can create a visitor appointment form to make invitation to your guests. Click the [+] button in bottom right corner or click on the schedule to open the invitation dialog. Reserved appointment will be shown on schedule page.
Create invitation
Invitation form is used to make visitor appointment. Reserved appointment will be shown on schedule page.
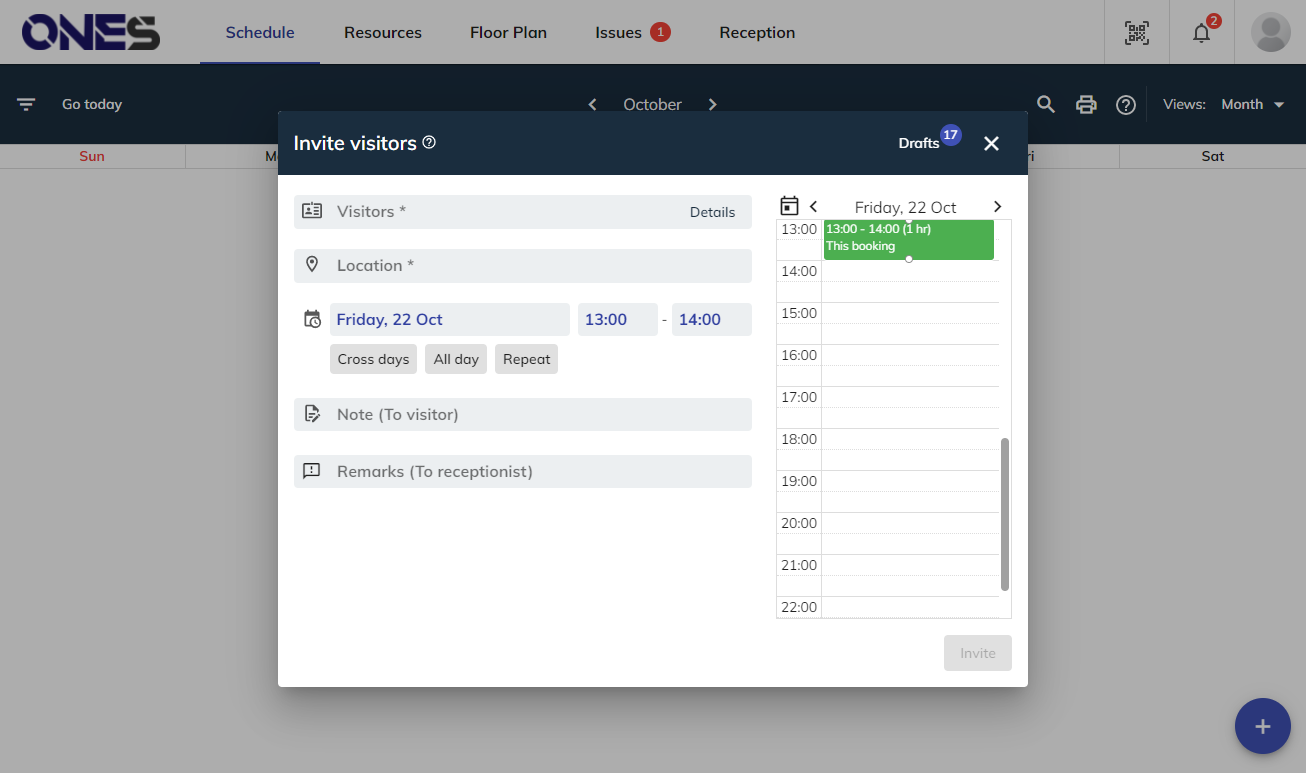
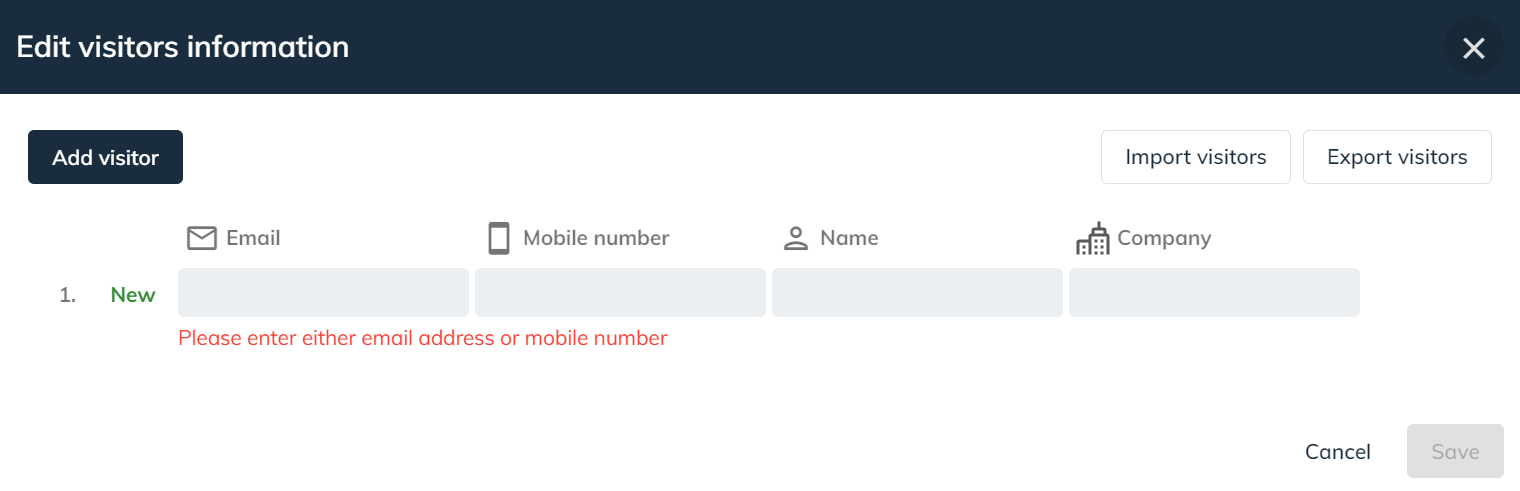
Click Details to edit/ add visitor information. Then, enter the email, mobile number, name, company to save the new visitors.
Entered the visitor information, it can save your time of entering it again and again while inviting the same visitor.
Visiting purposes: By filling in the column, administrator can know the visiting purposes (e.g. visit/ interview/ customers/ event, etc.) of each appointment. It creates higher level of convenience in data recording, categorizing and data analyses. Selecting appointment period:
- Timeslot selection: Select the starting time and ending time directly in the corresponding boxes.
- Timeline selection: A feature available only on computer version. User can select the visiting time by dragging-and-dropping the timeline directly.
Invitation format: Allow you to make long time/ continuous invitation in a more convenient way.
- Cross day: Lasts over one day / 24 hours.
- All day: Lasts for the whole day.
- Repeat: Occurs more than once at regular intervals.
Notes: You can write on this column as a remark of your appointment. If you would like to remind your visitors about the things to prepare before arrival, you may write on the column and your visitors will be able to see it.
Recurring Visiting Form
Recurring bookings are for recurring bookings over a time or on a regular schedule, such as daily, weekly, or monthly.
This dialog form will pop up when user click the Repeat button in Visiting Form.
Recurring booking function does not support cross-day option.
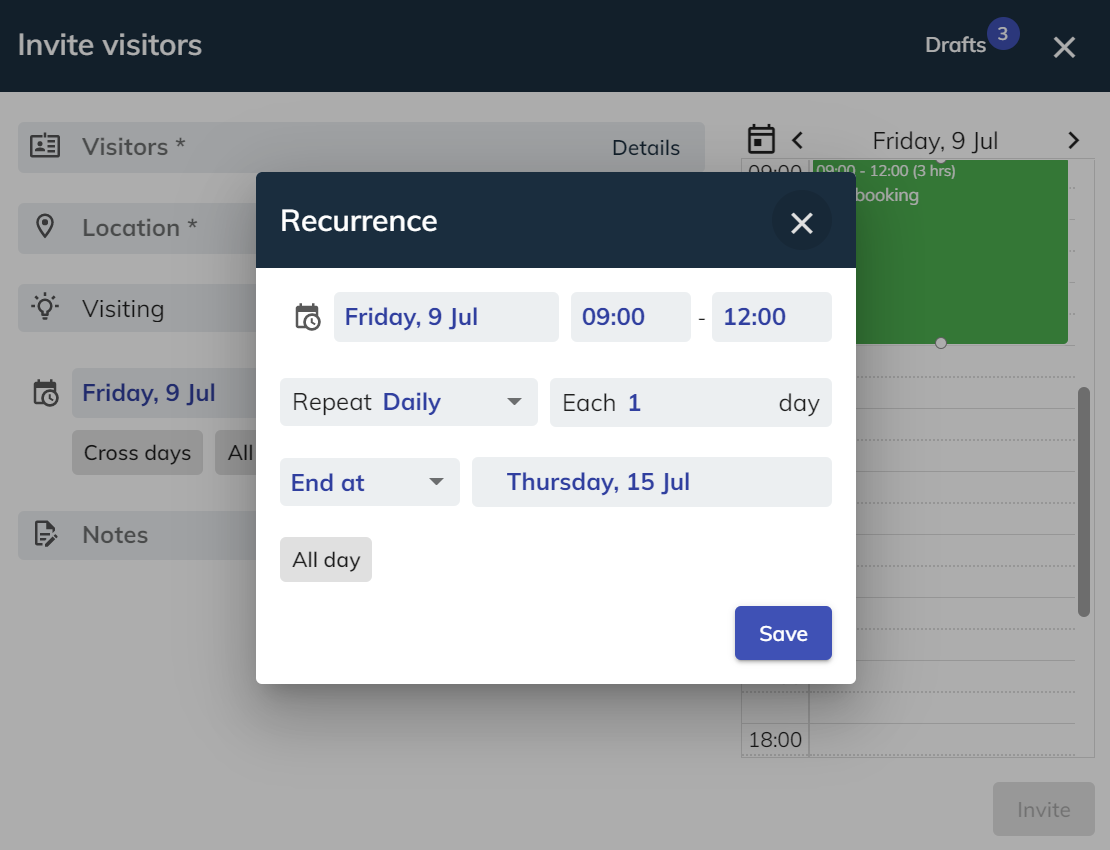
- Time: The date and time of the first visiting you want to schedule.
- Repeat: Select the type of repeating visiting (such as "Daily", "Weekly" or "Monthly").
- End at: The end date and time of the last recurrent visiting, or the number of visiting.
- All day: Visiting lasts for the whole day.
Visitor Invitation and Pre-registration
When host has made an appointment, the following emails will be sent to the visitors:
If approval is required, then email will be sent after the appointment is approved.
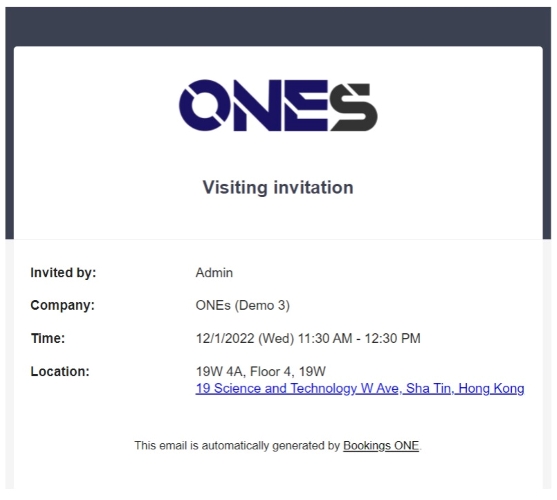
Invitation email
When host has made an appointment, an invitation email will be sent to the visitors immediately.
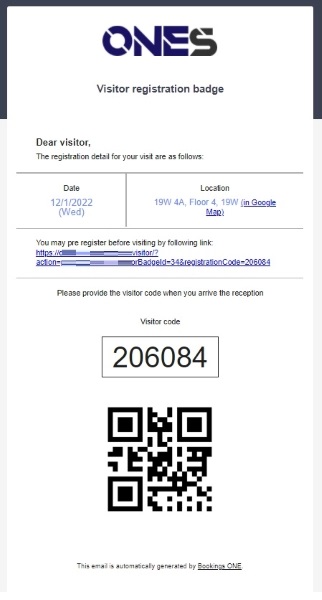
Visitor registration badge email
Visitors will also receive an email with the visitor badge, which includes the pre-registration link ( if enabled in Visitor management settings ) and a QR code for check in upon arrival. The send out time of this email is based on the Visitor management settings in Admin Console.
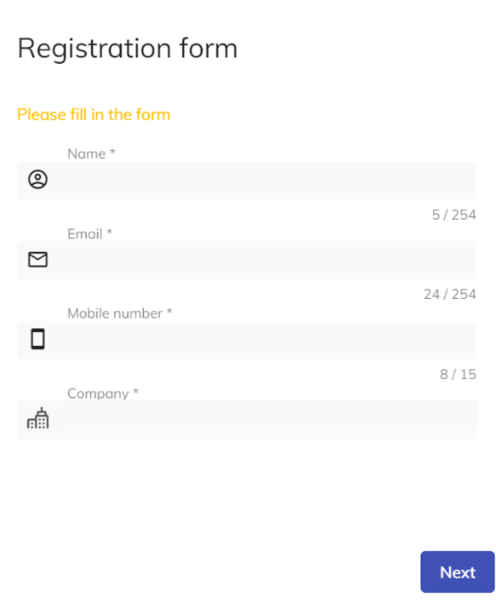
Pre-registration
If pre-registration is enabled, when the visitors click into the pre-registration link, they can fill in the personal information and/or survey. based on the visiting purpose.
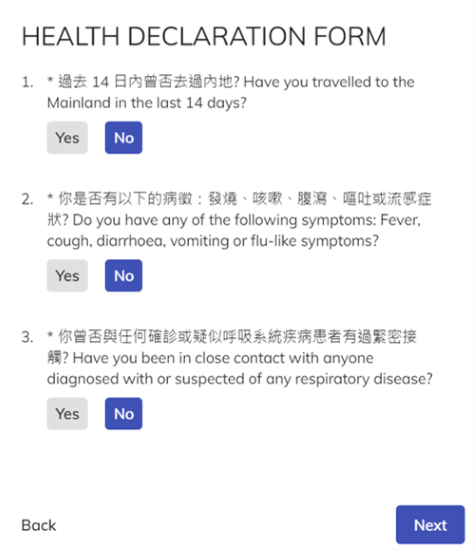
After the above steps, the whole pre-registration process will be completed. These information will be then shown to the receptionist in the user app upon visitor check-in.
The pre-registration visitor page targets for the visitor which can access to the system externally.
If you would like to allow visitor to pre-register, please allow HTTPS access to the server path start with {server_address}/visitor and {server_address}/api/visitor.
Based on different customer requirement, you may not want to open any external connection to your Bookings ONE server and keep it in internal server for security concern. In this case, administrator need to disable the pre-registration functions in the Visitor management settings to prevent any usage confusion.