Player Configuration
Player configuration can help user to create a configuration setting and themes to various of player device. Player Manager can click Add button to create a new player configurations. Player configuration setting can assign to multiple players.
Management console -> Players -> Player configurationsPlayer Common Settings

- Name: Name of the player configuration setting.
- Languages: Available language on the player, user can change language on the display.
- Default language: Default language of the player. Whenever the player boot up, it will display the default language.
- Auto update enabled: Player will auto download the new version of player content (For ANDROID and Windows), if disabled, user need to update the player manually in player page.
- Show in 24 hour format: When this setting is enabled, time show as '15:00' (default show as '3:00 pm').
Select a player configuration, click Menu button ⋮, then click Edit.
Select a player configuration, click Menu button ⋮, then click Delete and input "YES" to the text field.
Room / Desk display Configuration
Corresponding Player Type: Room display, Desk display

Theme: Select one UI theme for display.

Themes of the player Show company logo: When this setting is enabled, company logo will show on player screen.
Show announcements: When this setting is enabled, announcements will show on player screen.
Is non-touchable screen: When this setting is enabled, all buttons on the screen will be hidden. Such as check in, check out, extend and other room buttons.
Screen saver: When this setting is enabled, the player will show screen saver on the screen after a period of time.
- Required user verification to navigate back to home screen: If enabled, user required to verify their identity to navigate back to home screen.
- Screen saver videos / images: You can upload MP4 videos (Video size limit: 100MB, only supports iPad) or image and play on the screen saver.
Show extend button: When this setting is enabled, the player will show the extend button to allow users to extend the booking on the player.
Show open door button: When this setting is enabled, the player will show the open door button when the booking is in the Waiting check-in or In use status. This setting is used for the Qbic AC-500 relay board to trigger the door lock.
Floor display Configuration
Corresponding Player Type: Floor display

Theme: Select one UI theme for display.

Themes of the player Show company logo: When this setting is enabled, company logo will show on player screen.
Show announcements: When this setting is enabled, announcements will show on player screen.
Show you are here: Show "you are here" marker on floor display based on the player coordinate.
Show resources occupancy: When this setting is enabled, resources will display occupancy status.
Is non-touchable screen: When this setting is enabled, hide all buttons on the screen.
Flipping interval: If you set up multiple floor, the floor display will flip the floor plan by flipping interval time.
Check-in kiosk Configuration
Corresponding Player Type: Check-in kiosk
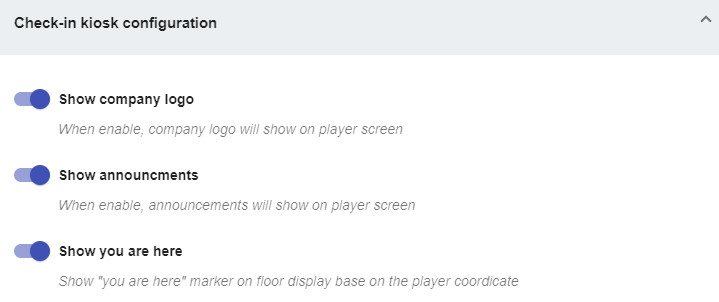
- Show company logo: When this setting is enabled, company logo will show on player screen.
- Show announcements: When this setting is enabled, announcements will show on player screen.
- Show you are here: Show "you are here" marker on floor display based on the player coordinate.
- Show extend button: When this setting is enabled, the player will show the extend button to allow users to extend the booking on the player.
Visitor Self Service Panel Configuration
Corresponding Player Type: Visitor self service panel
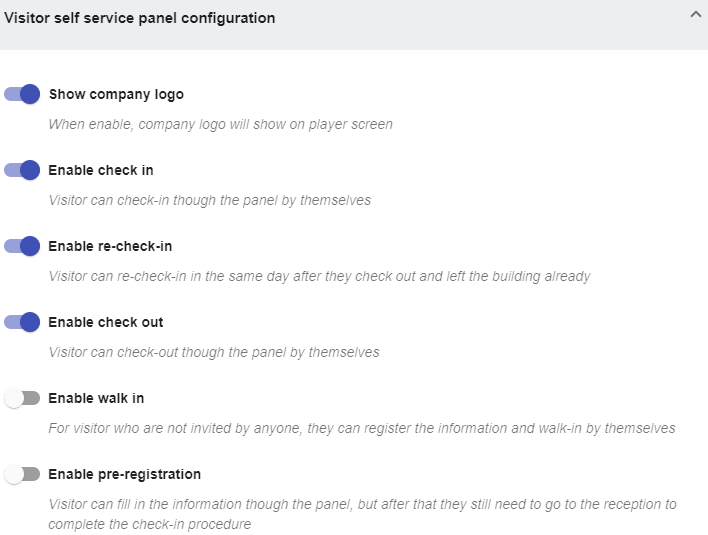
- Show company logo: When this setting is enabled, company logo will show on player screen.
- Enable check in: When this setting is enabled, visitor can check-in through the panel by themselves.
- Enable re-check-in: When this setting is enabled, visitor can re-check-in in the same day after they check out already.
- Enable check out: When this setting is enabled, visitor can check-out through the panel by themselves.
- Enable pre-registration: When this setting is enabled, visitor can fill in the information through the panel.
- Enable visitor self walk-in: When this setting is enabled, the player will show
Walk-inbutton to open a QR code to link to the Visitor walk-in app.- Show qr code for walk-in: When this setting is selected, visitor can use their phone to scan the QR code to open the visitor walk-in app.
- Walk in on player: When this setting is selected, the visitor walk-in form will show on the Visitor self-service panel.