Qbic device
Followings are the installation steps of setting up Bookings ONE onto the Qbic devices.
Demonstration Video
Support device model

Installation Steps
For first time boot-up
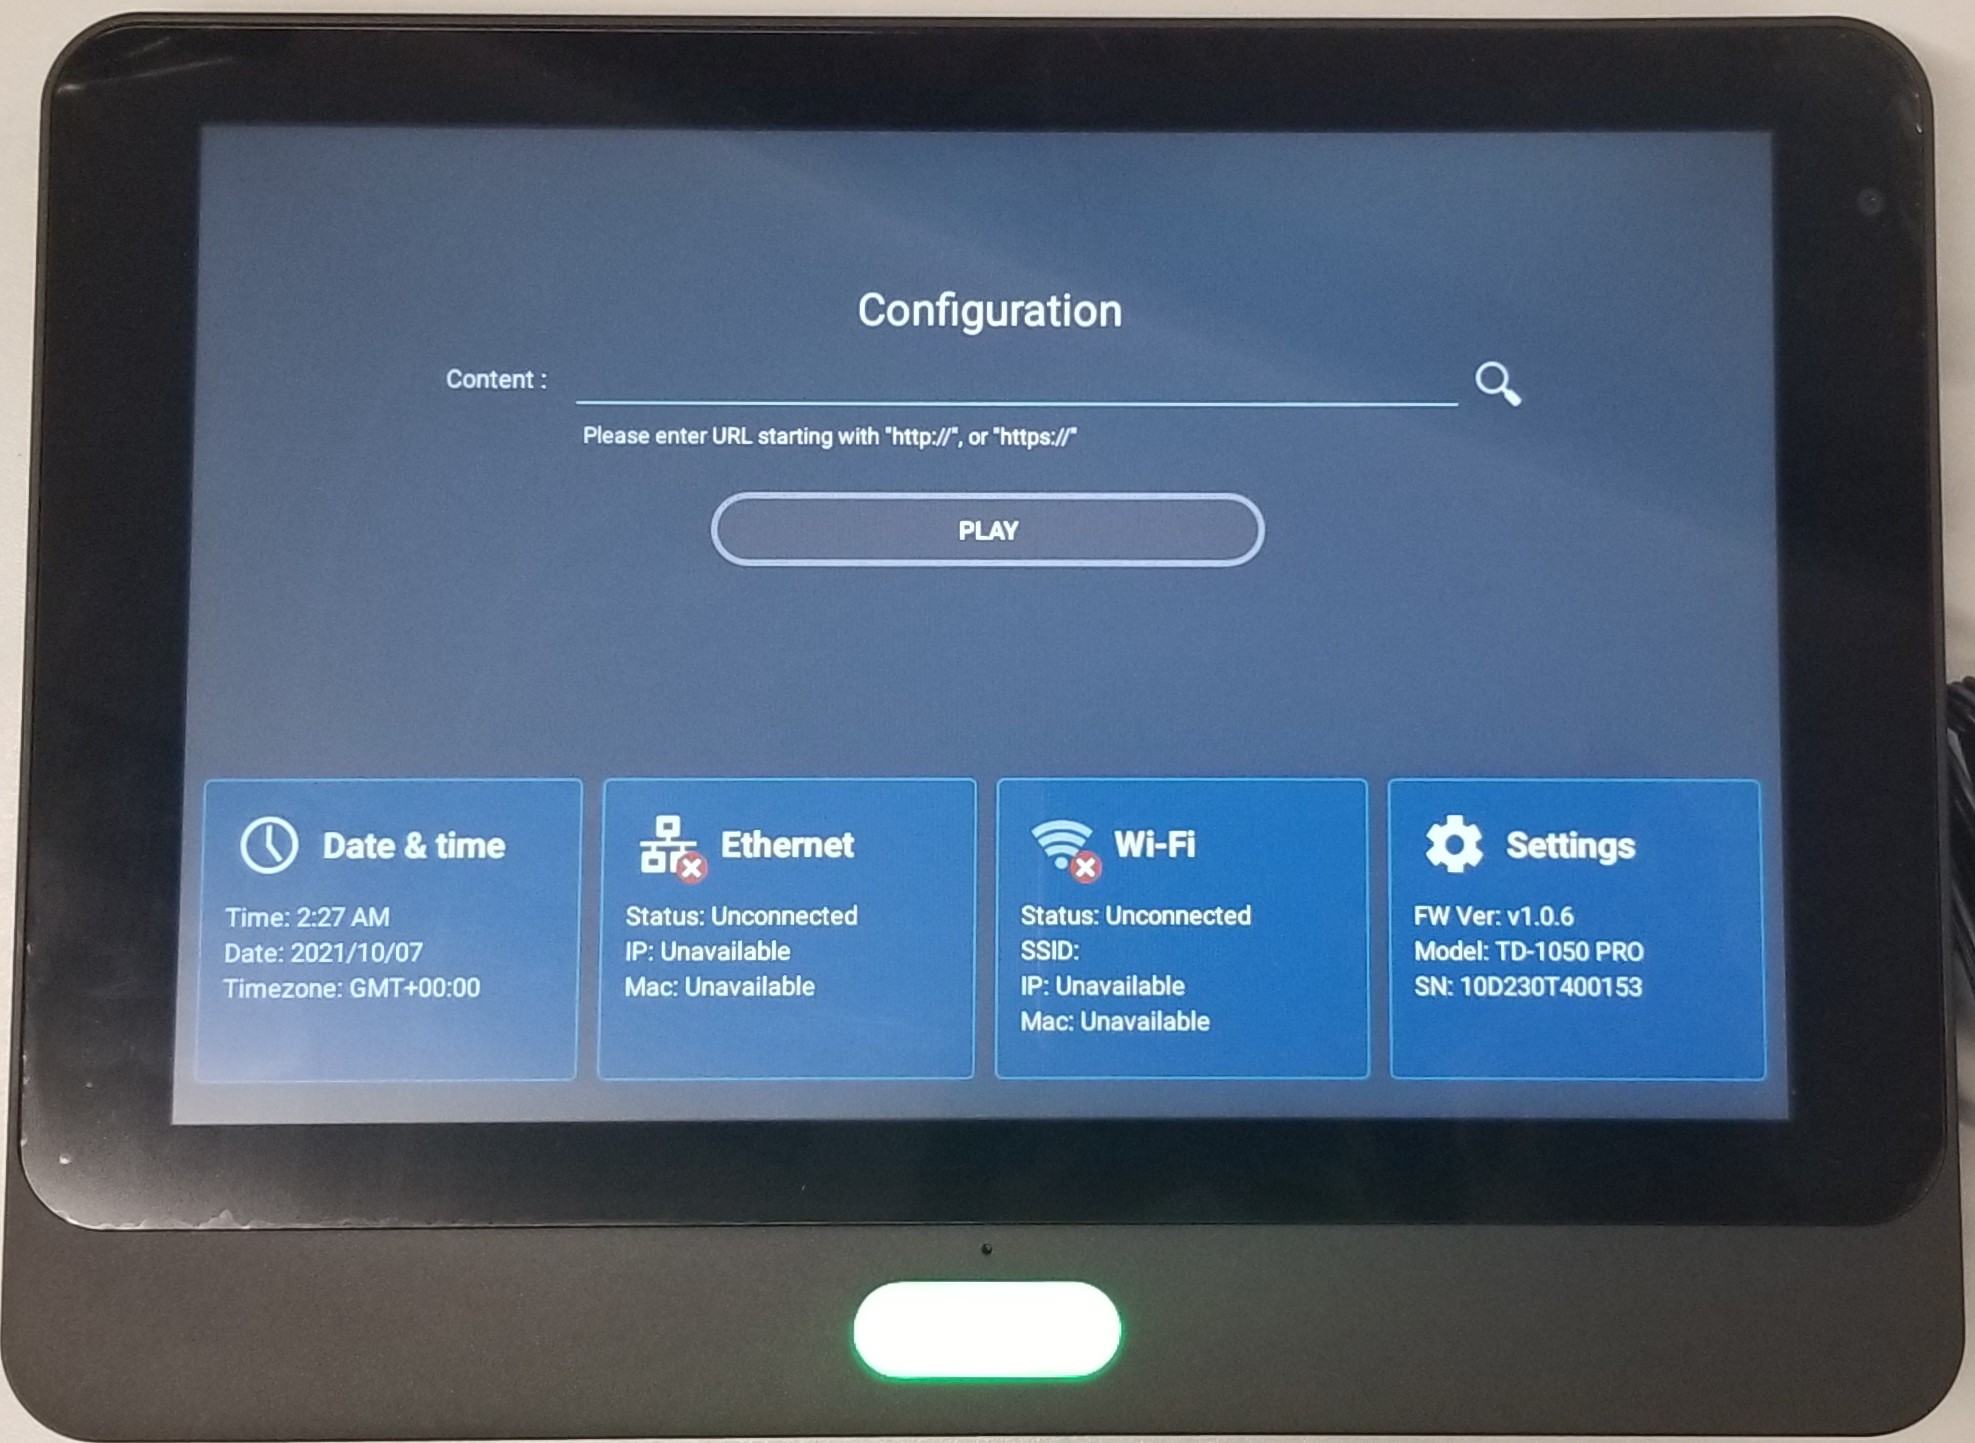
- After boot-up the device, set-up the Wifi Networking and timezone in configuration screen on start-up first.
Set-up content
- After turning on the device, in the content field in configuration screen on start-up, enter the server address +
/player, e.g.
https://company.bookings.one/playerhttp://192.168.0.100/player
- Click
Save and Playbutton, then the device will then enter the Bookings ONE player screen and will load Bookings ONE Player when it start-up.
If you want to get to the setting page, please tap the corner until the panel back to the setting page.
After Installation
After Bookings ONE player installation is completed, please go to the Connect to server to continue to setup the connection of the player to Bookings ONE on the devices.
Connect Qbic AC-500 relay
You can connect the Qbic AC-500 relay to the panel. Once the relay is connected, it will provide an ON/OFF signal when a user check-in, walk-in, check-out, or clicks the open door button. You can use this signal to control the door lock or light.
Status
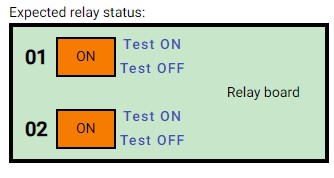
The behavior of the relay will be change by the Board ID:
- Board ID 00: When the resource is in "Waiting check-in" or "Using", the relay 1 will turn on and relay 2 will turn off.
- Board ID 01: When the user "Check-in" / "Walk-in" / "Open door" the resource, the relay 1 will turn on for 10s and relay 2 will turn off for 10s.

You can config the Board ID of the relay by modify the switch on the board:
