Active Directory
ADFS configuration
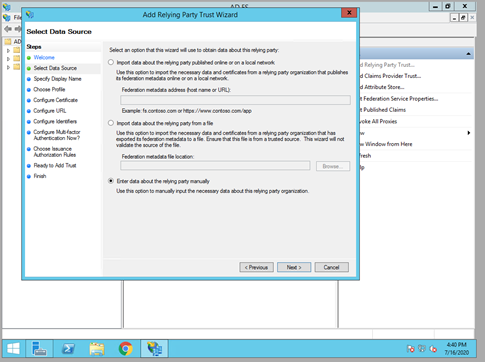
- Open the server's Add Relying Party Trust Wizard from the ADFS Management console.
- Choose to enter data manually
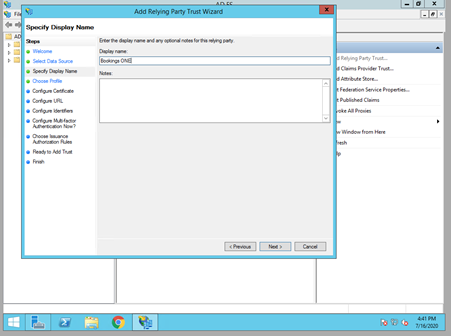
- Enter a display name for the relying party. The name is just for naming and will not affect Bookings ONE functionality.
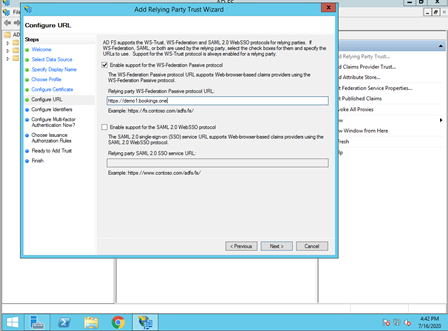
- Enable support for WS-Federation Passive protocol, using the app's URL
- Click
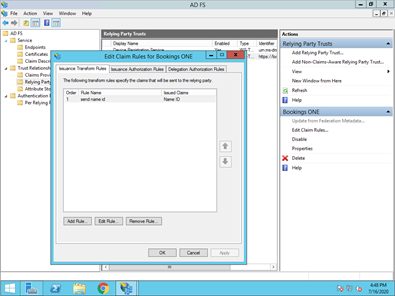
Nextthrough the rest of the wizard and Close at the end. - Bookings ONE Identity requires a Name ID claim. Add one from the Edit Claim Rules dialog:
- Edit Claim Rules
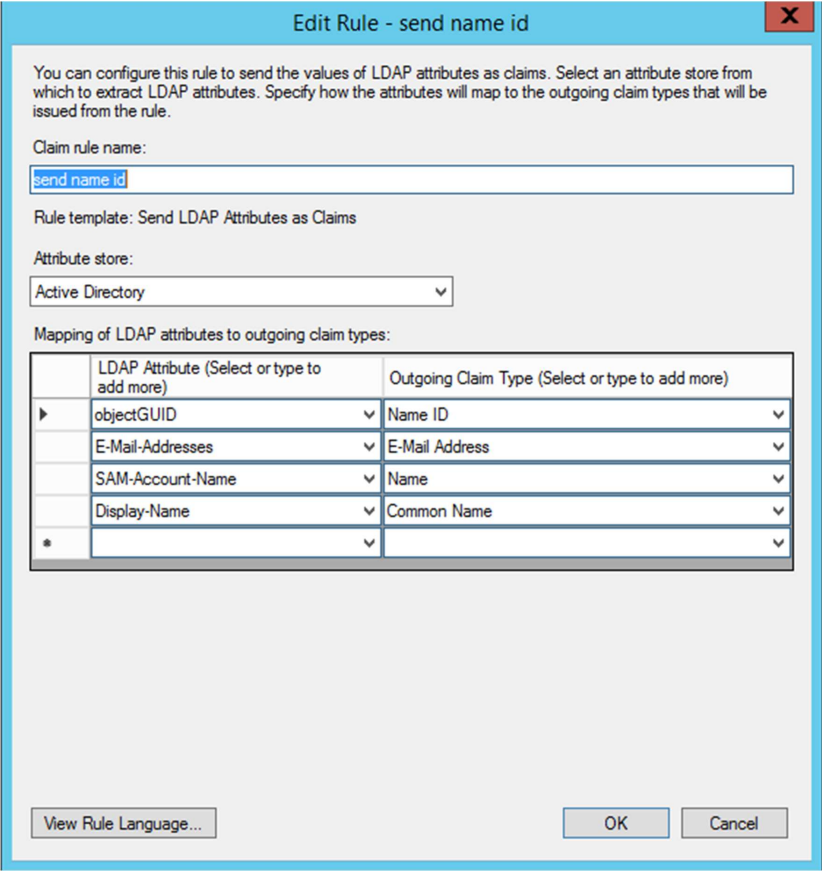
- In the Add Transform Claim Rule Wizard, leave the default Send LDAP Attributes as Claims template selected, and click
Next. Add a rule mapping theLDAP Attribute Outgoing Claim Type objectGUID Name ID E-Mail-Addresses E-Mail Address SAM-Account-Name Name Display-Name Common Name - Add Transform Claim Rule Wizard: Configure Claim Rule
- Click
Finish > OKin the Edit Claim Rules window.
ADFS configuration in Azure Active directory
- Navigate to the AAD tenant's app registrations blade. Click
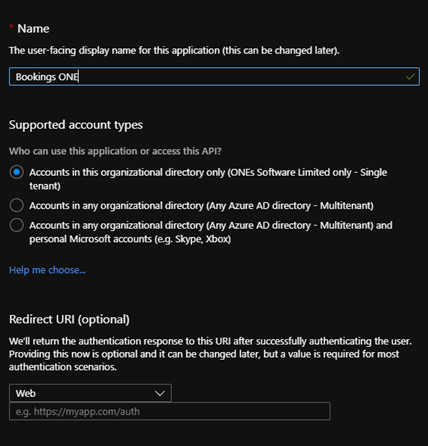
New application registration:
- Enter a name for the app registration. The name is just for naming and will not affect Bookings ONE functionality.
- No need to input the redirect URI
- Click
Endpointsand note the Federation Metadata Document URL. This is the WS-Federation middleware's MetadataAddress: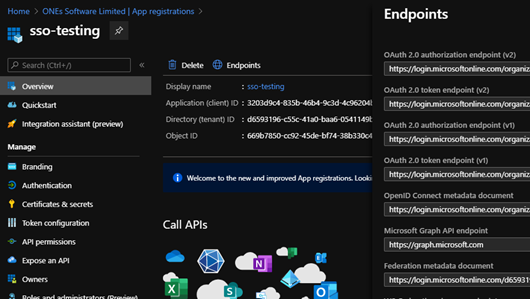
- Navigate to the new app registration. Click
Expose an API. ClickApplication ID URI Set>Save. Make note of theApplication ID URI. This is the WS-Federation middleware's Wtrealm:
Redirect URI
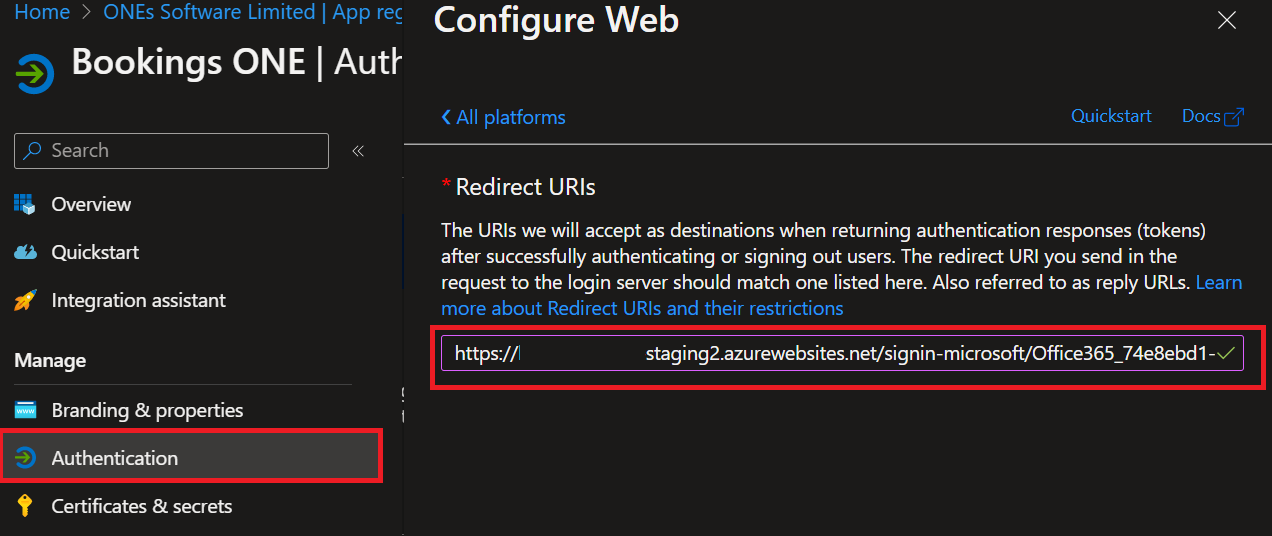
Redirect URI is for adding single-sign-on callback-link to Office 365 (Please also add this to the Azure Portal)
Navigate to
Authentication, clickAdd platform, then clickWeb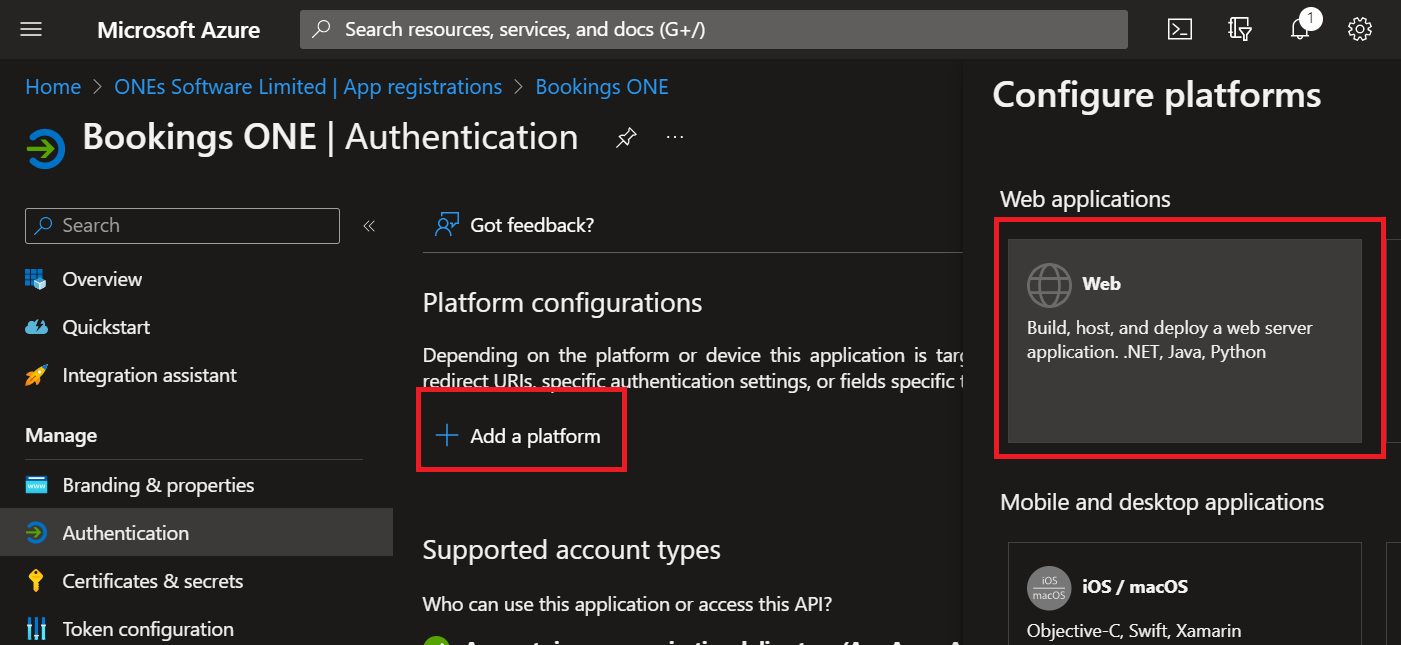
Copy the Redirect URI from the ADFS integration and paste in the
Redirect URIsin the Azure Portal AAD tenant. ClickConfigure